


Google Docs has always been a good all-round tool for most of our simple work-related needs, such as creating documents, presentations, spreadsheets, and so on. Now integrated with Google Drive, it still offers all of the functionality and backup options. You can do a lot with Google Docs, and that includes creating Forms. Indeed, Google Forms are widely used by surveyors, journalists, and beginner bloggers to create contact forms, survey questioners, and more. In this post, we'll talk about how to create a contact form with Google Docs, and how to embed it on your blog/website.
Creating a contact form with Google Docs has never been easier. In order to create a Google Form and to be able to collect responses, you need a Google Account. Follow the steps given below to create your own contact form and embed it to your blog/website.
Creating a contact form
- Step 1: Log into Google Drive using your Google Account
- Step 2: Click on the Create button on the left, and then select Forms
- Step 3: Choose a title for your form, and then select a template. This is only a design template, and won't effect the functionality of your form

- Step 4: It's time to start adding fields. A new field will be created for you by default. TheQuestion Title is the label that appears before an input text field. Enter a title for your first question (for e.g. "Name"), and then select the Question Type. Set it to Text. You can set a help text if you like. Click on Done when you are, and voila! You have your first input field ready
- Step 5: Now repeat the same process for Email input. Except this time, check theRequired question option, and then click on Data validation. Set it to Text, and then select Contains, and add an '@' as shown below

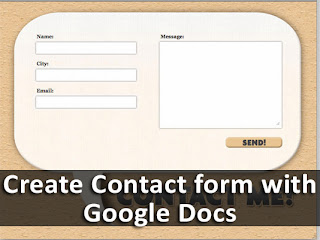
- Step 6: Add a Message field, and set its Type as Paragraph Text instead of Text. You're now done with a basic contact form. You can add more fields if you like

- Step 7: Click on the Send Now button at the end to finish up and start sharing your form.
Embed on a webpage

Next to the share link, you'll see an Embed button. Click on that button, and then simply customize the size of the form. The corresponding HTML will automatically be generated for you. Copy and paste it anywhere on your blog or website.


0 comments:
Post a Comment